(Ⅲ)Post-Processing Calibration
1.1 Record Calibration Data
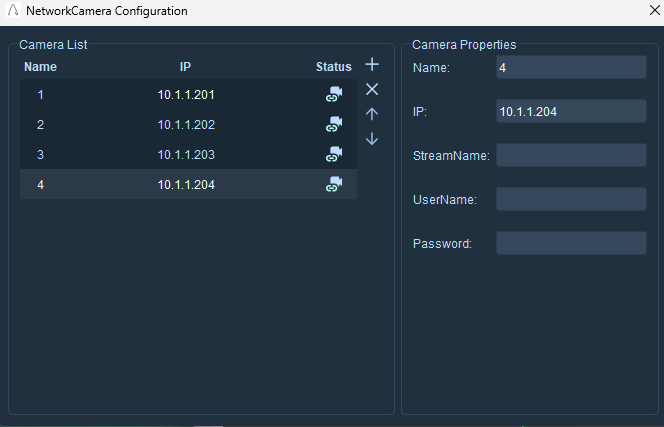
- Click on Third-Party Devices - Network Camera Configuration Window, then click the ‘+’ button to enter the camera's name and IP address.
- Connect the camera and click Play, then switch to the reference video view and adjust the focal length and brightness of all cameras accordingly.
-
Before recording the calibration data, you need to create an 8×7 checkerboard (where 8×7 means the checkerboard is 8 squares long and 7 squares wide) to serve as the calibration board. You can make it yourself, 3D print it, or purchase it, or you can contact our technical staff to obtain a checkerboard image. After receiving the calibration board, you need to measure the side length of any square on the checkerboard and record the measurement value.
-
Recording T Calibration Data: Hold the calibration board facing the camera and slowly move (rotate) around the area. During the movement, try to avoid moving the calibration board out of the camera's capture range.
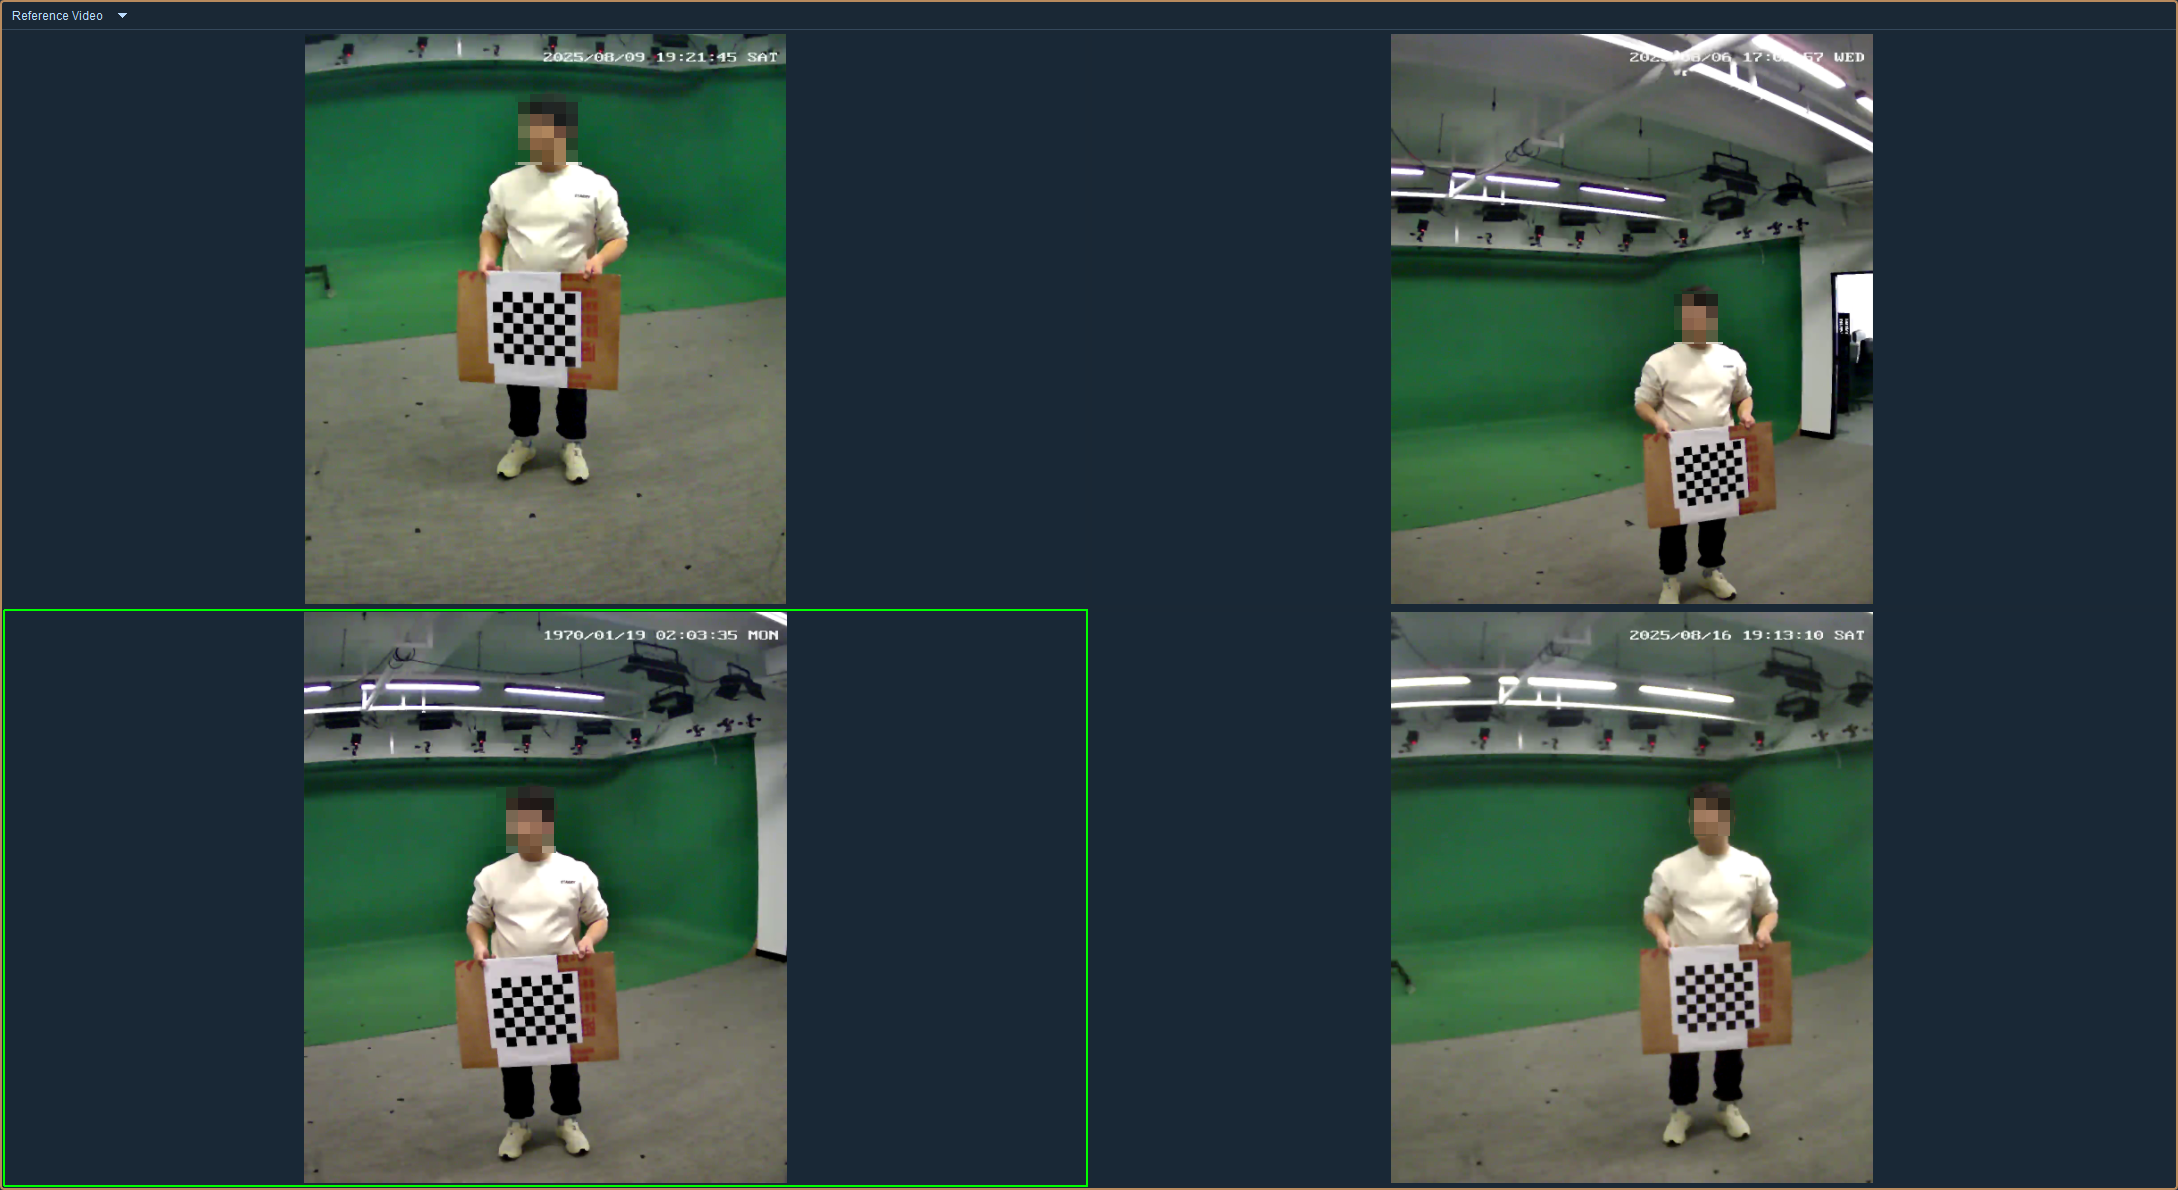
- Enter the file name for the recording and collect T calibration data. Be sure to check the reference video option before recording. You can stop the recording after collecting for 2-3 minutes (you can check the recorded video file names such as xxx-1.mp4, xxx-2.mp4, etc., in the root directory of the data).
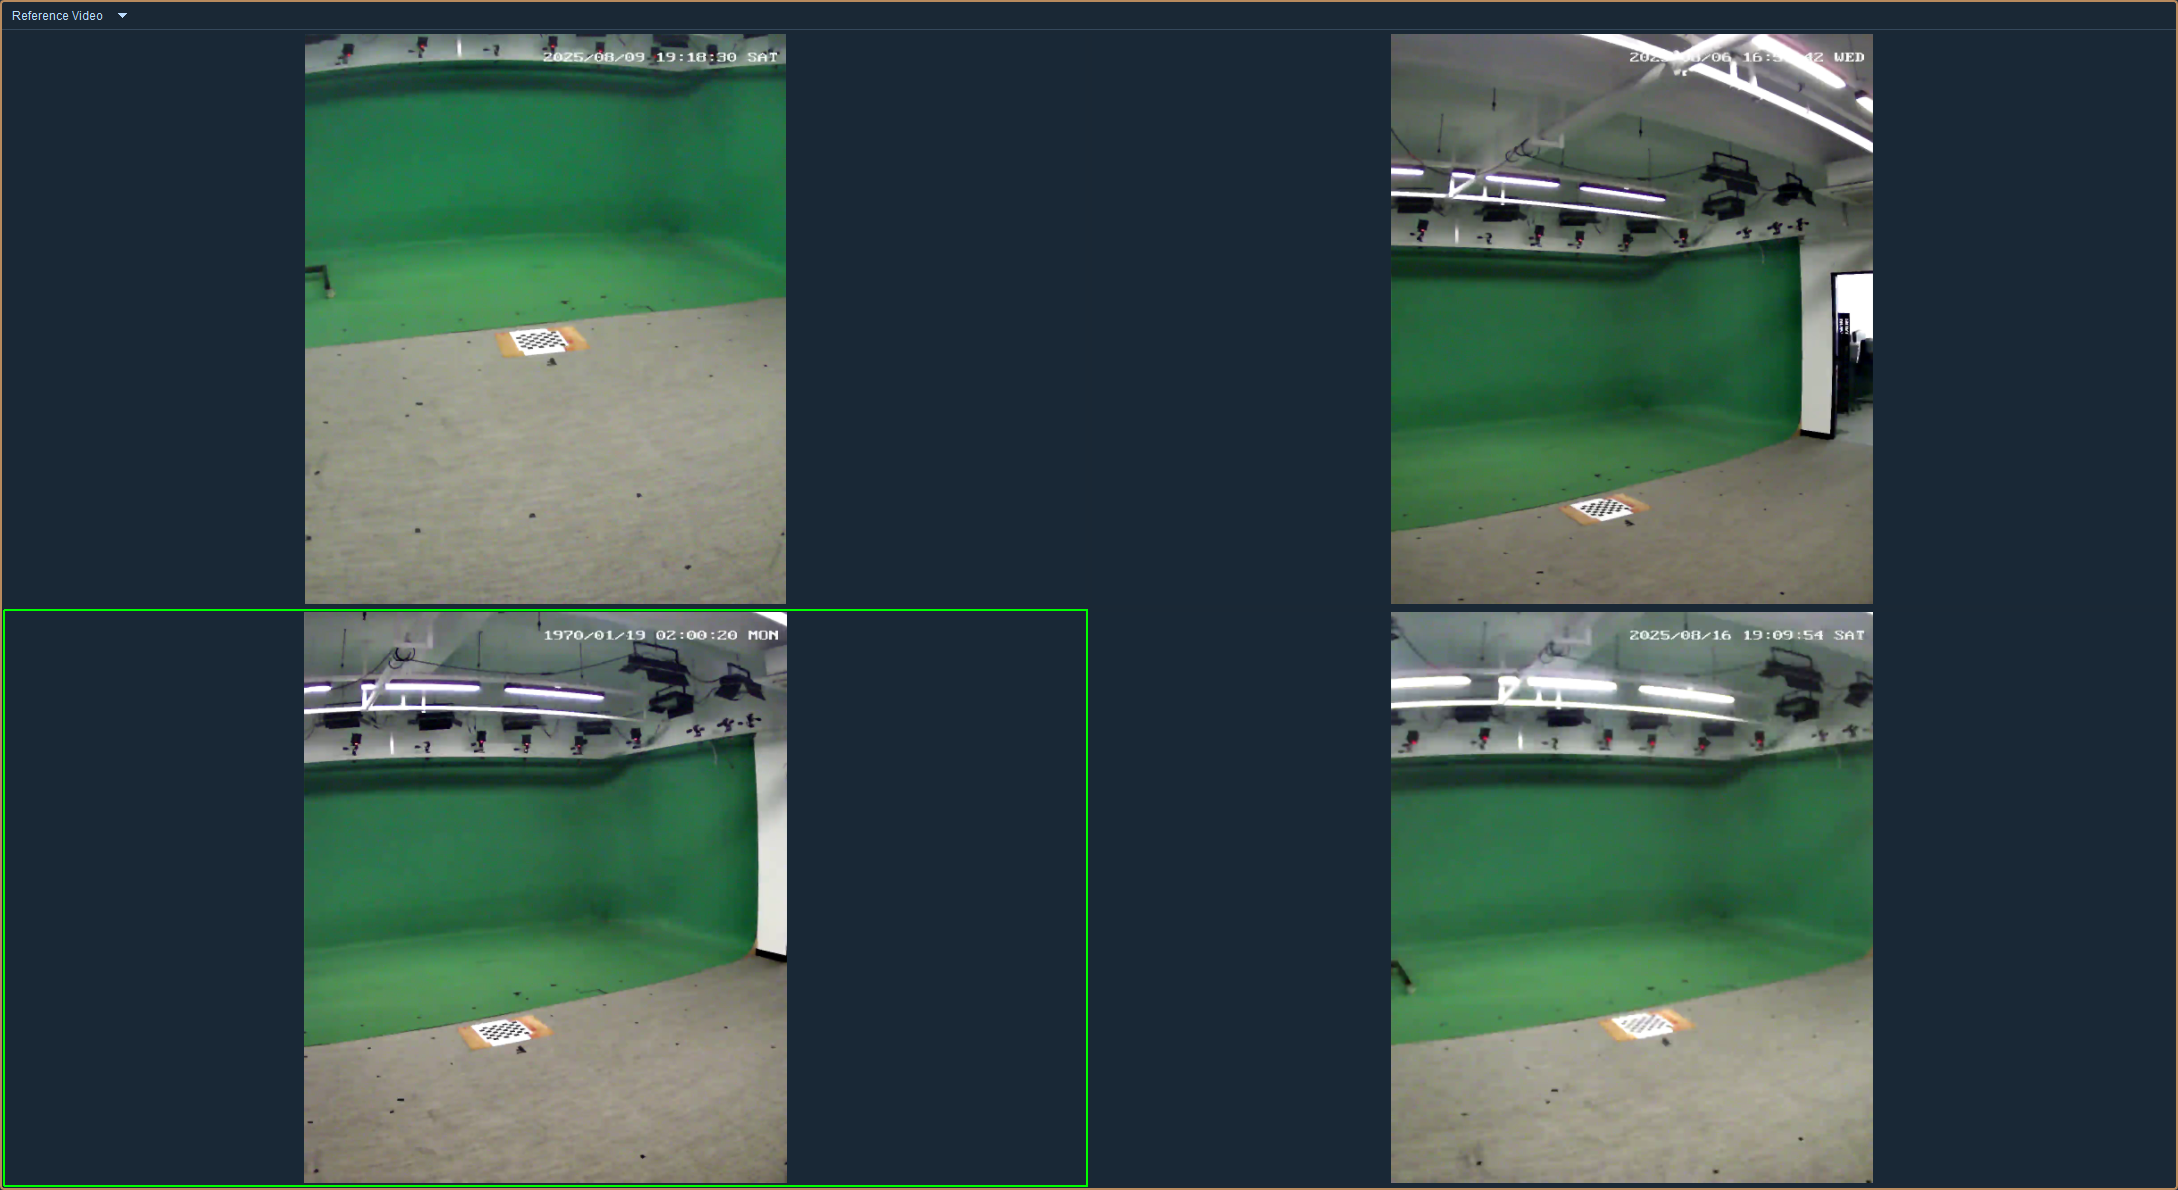
- Recording L Calibration Video: Place the calibration board flat in the center of the area so that all cameras can see it. Enter the file name for the recording, check the reference video option, and the recording duration should be within 10 seconds (you can check the recorded video file names such as xxx-1.mp4, xxx-2.mp4, etc., in the root directory of the data).
1.2 Recording Human Data
- Recording Human Video Data: The recorded human data must include frames that meet the requirements for creating a human template. Enter the file name for the recording, check the reference video option, and during the recording process, the model should stand upright and walk with arms straight within the camera's capture range (maintaining an A-Pose is acceptable).
1.3 Post-Processing Calibration and Parameter Settings
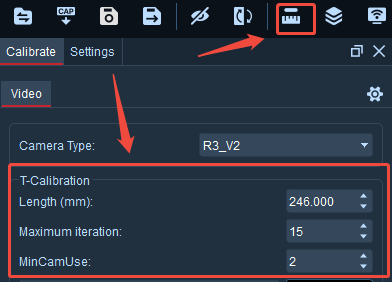
- Switch to Post-Processing and open the Calibration panel: Keep the lens type as default, no need to modify it; calculate the rod length by multiplying the measured square grid side length by 6, and input this value into the 'Rod Length (mm)' input field, ensuring the unit is converted to millimeters; set the maximum number of iterations to 15; set the minimum number of cameras to 2. The specific configuration parameters are shown in the figure below:
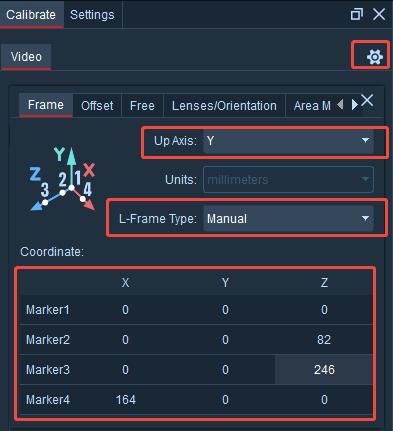
- Click the small gear in the upper right corner of the calibration panel, set the calibration axis to Y, and select 'Manual' for the L-rod type.
- Set L-Rod Coordinate Parameters: X-axis - Marker 4: Square grid side length of the checkerboard × 4; Z-axis - Marker 2: Square grid side length of the checkerboard × 2; Z-axis - Marker 3: Square grid side length of the checkerboard × 6;
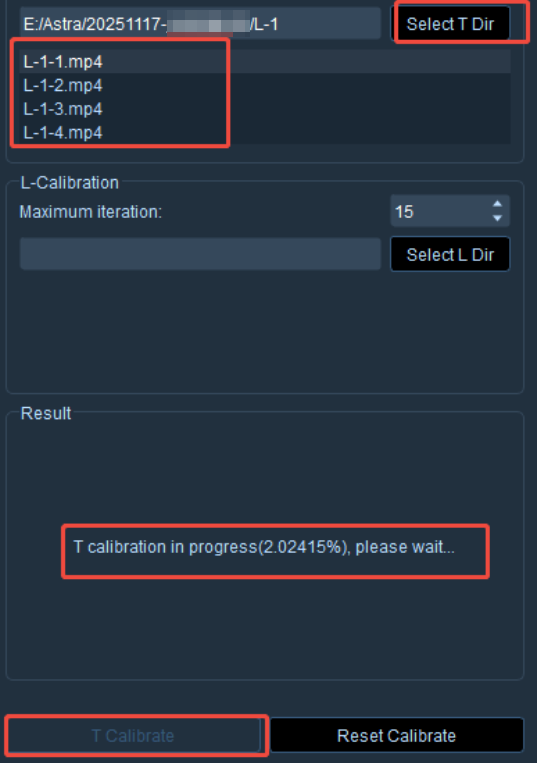
- Click 'Select T Calibration Directory' and choose the directory where the real-time recorded T calibration data is located in the pop-up window. The names of the recorded videos will be displayed in the list. Click the T calibration button at the bottom of the calibration panel to start the calculation. The interface will show the calibration progress percentage, and upon completion, the results of this calculation will be displayed.
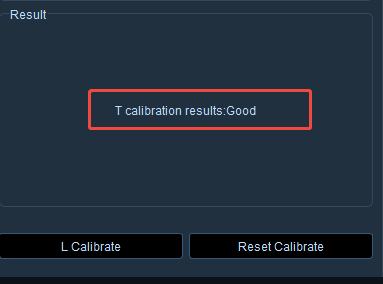
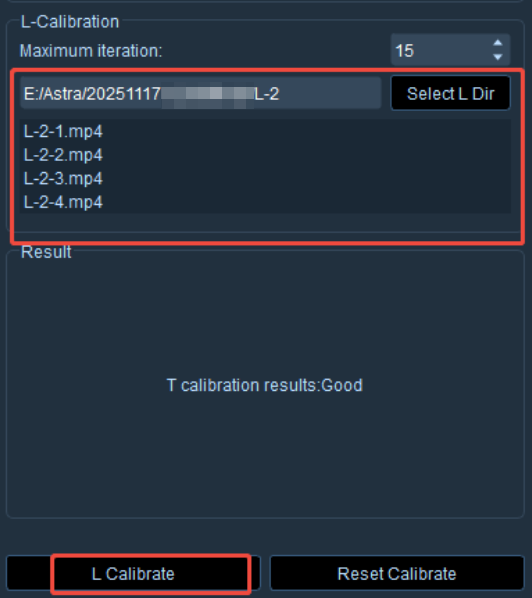
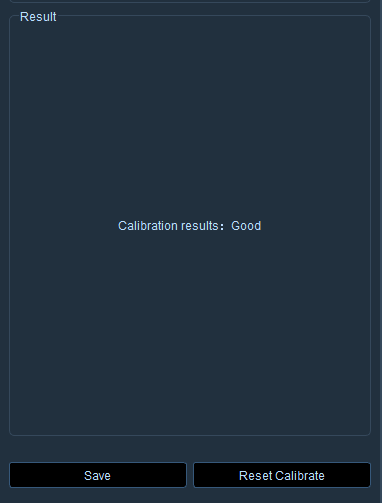
- Click 'Select L Calibration Directory' and choose the directory where the real-time recorded L calibration data is located in the pop-up window. The names of the recorded videos will be displayed in the list. Click the L calibration button at the bottom of the calibration panel to start the calibration. After a moment, the calibration results for this session will be displayed on the interface. If the results are poor, it is recommended to re-record the calibration data.
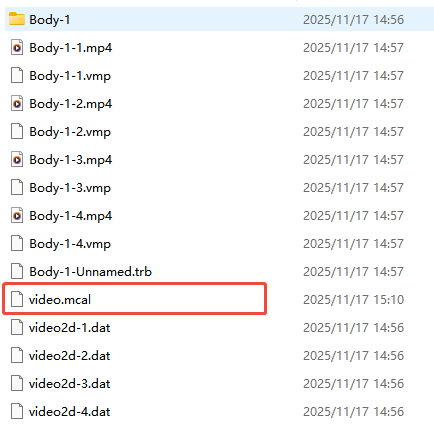
- After the calibration is complete, click the save button. Note that the calibration file name is fixed as video.mcal.
- Save the video.mcal calibration file in the directory where the human data was recorded.
1.4 Motion Capture File Generation
- Select: File - Generate Motion Capture File in the menu bar; choose the video directory for reconstructing the human data (the directory of the real-time recorded human data), and a .cap file with the same name as the directory will be generated in the same directory.

1.5 Human Creation
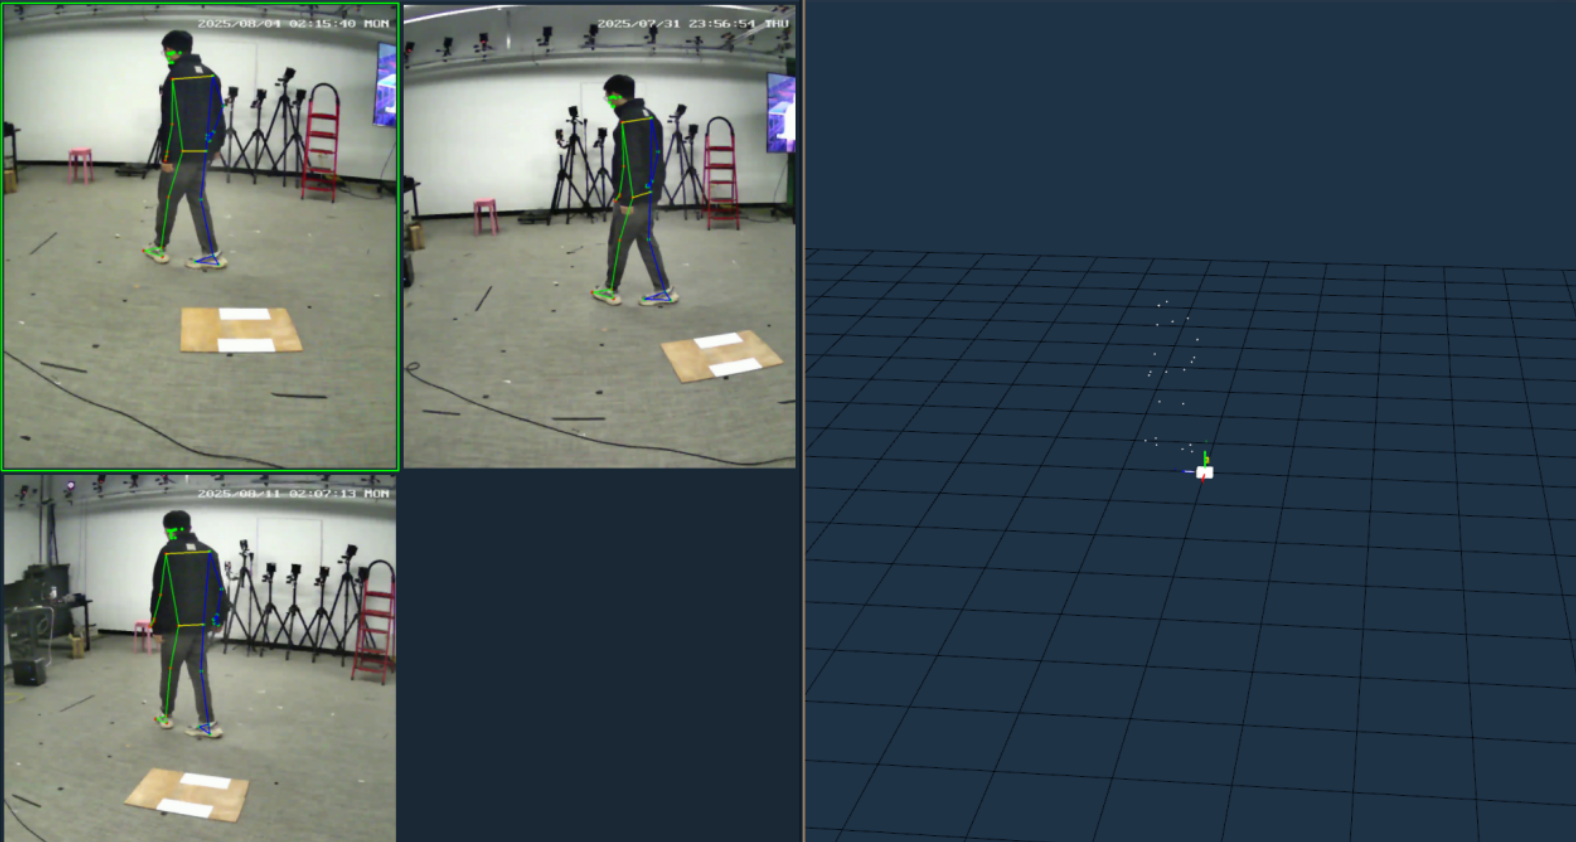
- Open the generated motion capture data file, click the ‘Solve’ button in the toolbar at the top of the 3D view, and wait for all cameras to finish processing. After that, 3D points will be reconstructed in the 3D view;
- Select a frame of data, right-click in the 3D view, and choose 'Create Human.' In the Create Human window, expand the dropdown list and select the 'Markerless Body (22)' model. Click the Create button, and the human will be successfully created on the current frame;
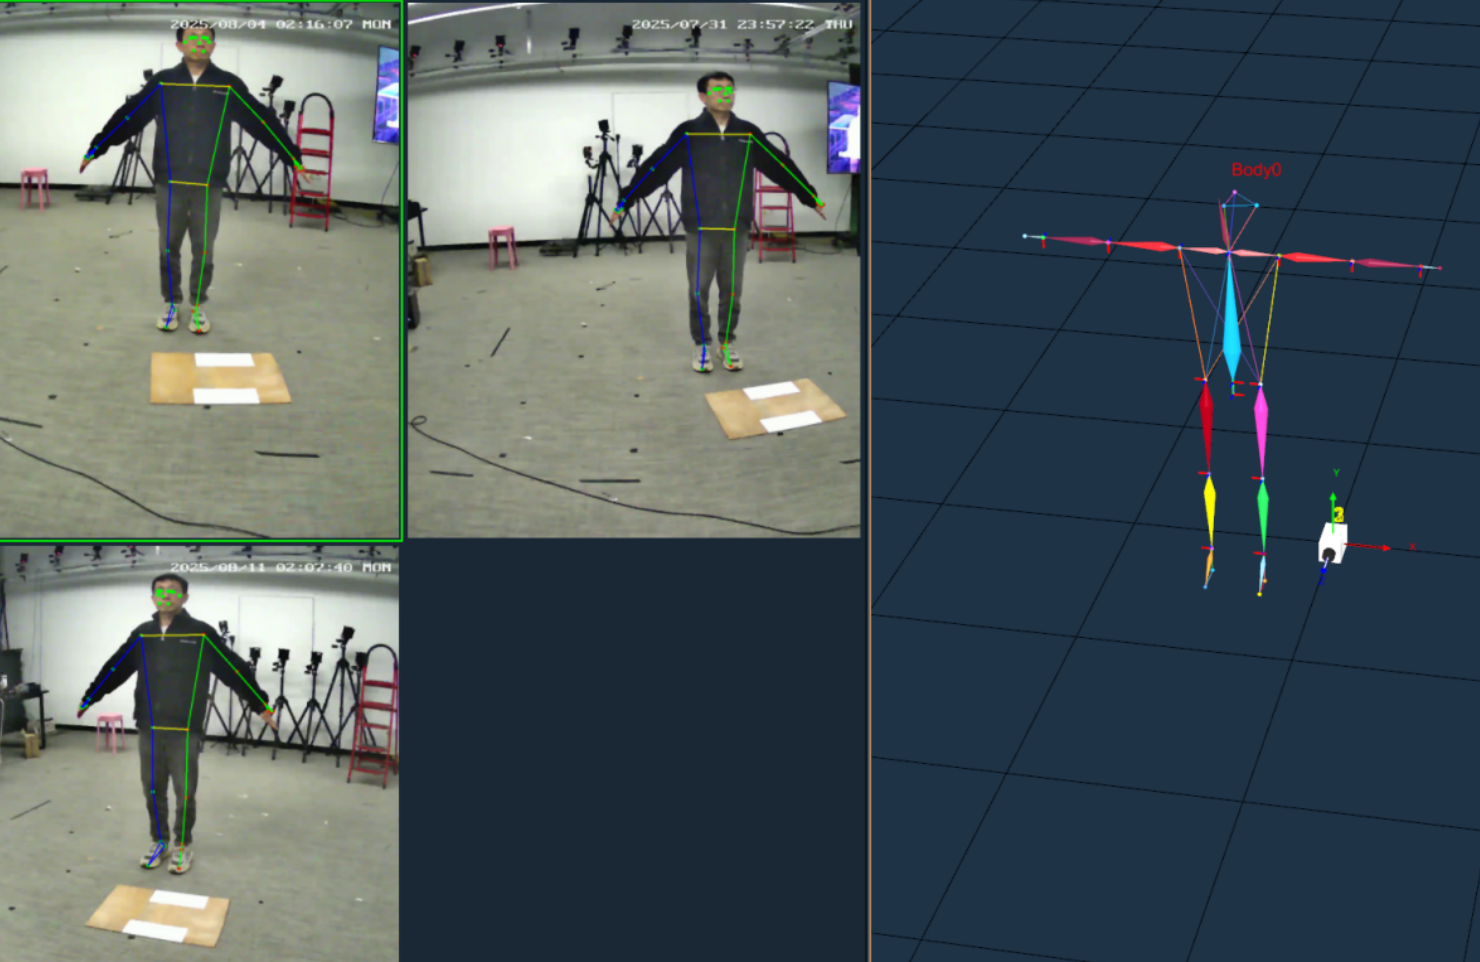
- Click the Solve button again to apply the human model from the current frame to every frame of the data. Once the solving is complete, play the data, and each frame will recognize the human model.